


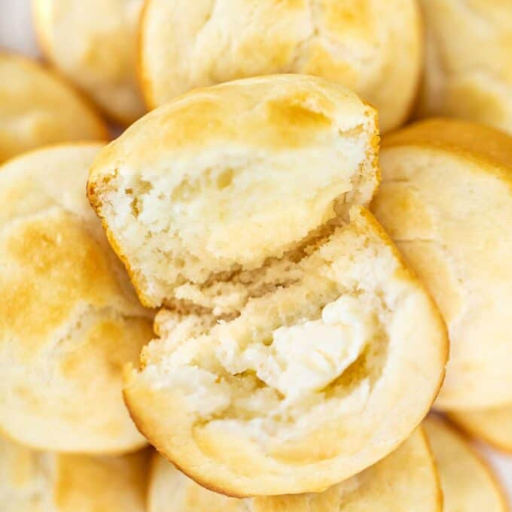
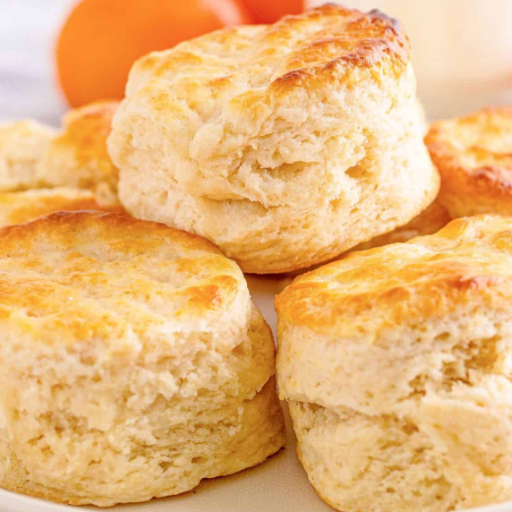
You have found the correct recipe which produces fluffy biscuits...
Read More

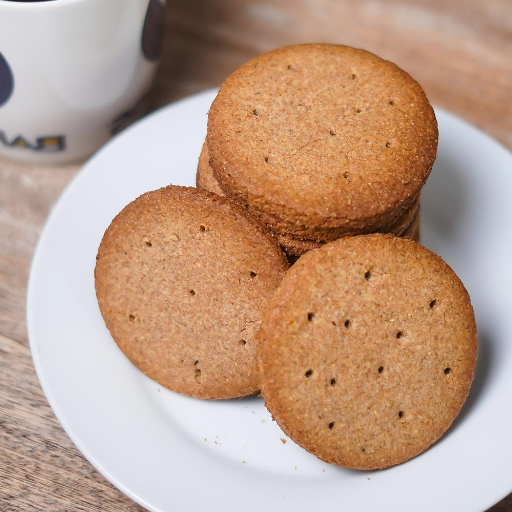
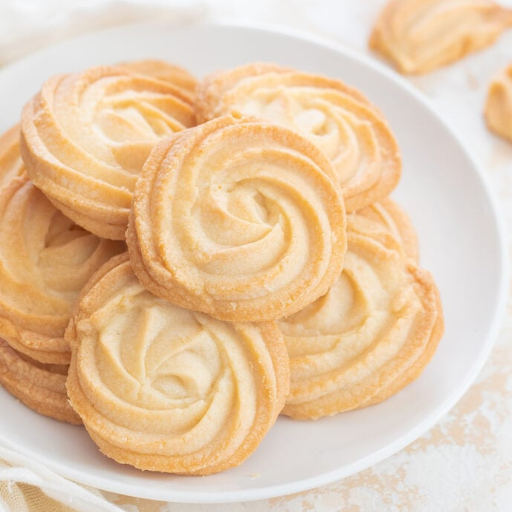
If you are a candy lover but at the same time health-conscious, then making your own digestive biscuits from scratch is the best thing to do! These original sweets have won over many people with their very gentle and soft sweetness, a slight hint of nuts taste and a gorgeous crunchy texture. They are just right with tea or coffee and have combined the indulgence with health benefits. We will show you a very easy recipe in this post, which will enable you to produce your own batch in no time. Whether you are an advanced cake maker or just a beginner in the kitchen, this article will take you through the process step by step and deliver biscuits good in taste with only few ingredients and simple techniques. So, prepare yourself to enjoy this classic dessert!
Introduction to Digestive Biscuits
History and Origin of Digestive Biscuits
The history and origin of digestive biscuits go back to the United Kingdom in the 19th century. Scottish doctors were the first to create these biscuits which they thought would be a food product for digestion. The use of sodium bicarbonate, better known as baking soda, was the main reason behind the belief as it was thought to have the stomach’s acidity-reducing properties thus making it easier to swallow.
Besides their alleged health benefits, the biscuits won over the consumers with their mild sweetness and wholesome taste. Digestive biscuits, which were made of wholemeal flour, sugar and butter, provided a simple and healthy snack choice. In the beginning, they were most of the times promoted as a less harmful option to other desserts and thus attracted dieters.
Digestive biscuits have changed their medicinal image over time and eventually became a favorite global snack. Now, they are enjoyed either by themselves or with various accompaniments such as chocolate coating or spreads. Nevertheless, the original prescription and the goal of digestive biscuits have remained the same, which narrate the tale of the mixing of health and simple culinary practices among, even the times of food technology advancements.
What are the Reasons to Make Digestive Biscuits at Home?
The decision to make digestive biscuits at home is laden with a lot of advantages among which the most important ones are freshness, different flavors made specifically for you, and the opportunity to regulate the ingredients used. Store-bought biscuits are most of the times highly sweetened and are made with the use of preservatives, artificial flavors, and sugar in large quantities, however, at home you can ensure that the only thing in your biscuits is what you have put in your recipe-your knowledge of the ingredients being particularly beneficial to the one who follows a healthy eating pattern or has a limited diet like sugar or gluten intolerance.
The homemade digestive biscuits can be made in such a way that they will please almost any palate. By mixing different types of flour, sugar, or even spices, you can make a biscuit that is perfect for your taste. It is all about what kind of texture you would like and how much cinnamon you would like, or if the biscuit should be a bit nutty from the different flours or not at all; having the option to bake from home is the best way to go as it will let you have the product of your choice.
Baking your own biscuits can turn out to be a really enjoyable activity and it comes with the extra benefit of being eco-friendly. It means the consumption of pre-packed snack items will be less, and consequently, the waste created from single-use packaging will also be less. To add to that, baking can be a very inspiring and soothing experience; you can even feel like going back to the times when food was prepared using only hands. So, by giving in to your cravings for homemade digestive biscuits, you are actually receiving all the nutritional benefits plus the freedom to cook and the pleasure of a creative outlet.
Ingredients for Homemade Digestive Biscuits
Essential Ingredients List
The preparation of homemade digestive biscuits will require the following main components:
- 🌾 whole wheat flour of 1 cup (120g)
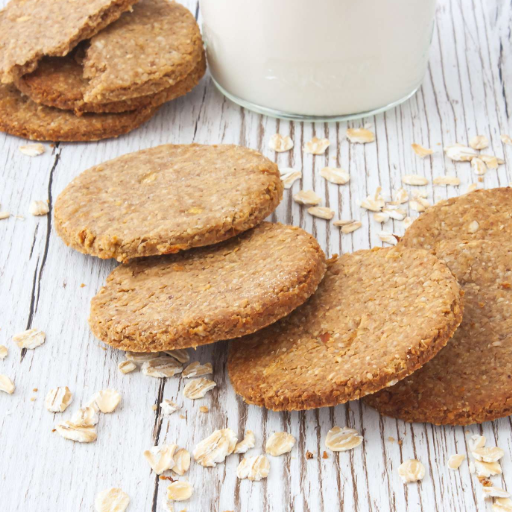
- 🌾 rolled oats of 1/2 cup (50g), powder very fine
- 🍯 brown sugar of 1/4 cup (50g)
- 🥄 baking powder of 1/2 teaspoon
- 🧂 salt of 1/4 teaspoon
- 🧈 unsalted butter of 1/4 cup (60g), soft
- 🥛 milk of 3 tablespoons (or plant-based alternatives)
- 🍦 vanilla extract of 1 teaspoon
The effect of these simple components is that they not only provide the biscuits with a traditional taste that is slightly sweet and hearty but they also ensure a crunchy yet soft texture.
Whole Wheat vs. All-Purpose Flour
In every aspect, the complete wheat flour and the all-purpose flour majorly differ in their composition, nutrition, and uses. Whole wheat flour consists of the entire wheat kernel, which includes the bran, germ, and endosperm, and is therefore the richest source of fiber, vitamins, and minerals. On the other hand, all-purpose flour is made through a process where only the endosperm is used, which leads to the removal of almost all the bran and the germ thus turning it into all-purpose flour.
While baking, whole wheat flour is one of the features that result in the production of denser and perkier breads. In other words, the whole wheat flour has an important role in gluten formation due to the inclusion of bran that creates an obstacle for gluten development, thus resulting in bread with a rougher texture. Whole wheat flour is an ideal component for rich pastry products like loaves of bread, muffins, and biscuits. Conversely, all-purpose flour is a less demanding and more adaptable option, as it provides the lightest and most delicate textures that are just perfect for cakes, pastries, and other such recipes that call for a tender and fine crumb.
Ultimately the decision boils down to individual nutritional inclinations and baking pleasures. Whole wheat flour is healthier by virtue of its higher nutrient content and fiber which can improve digestion and growth of heart friendly microbes. Still the all-purpose flour has not yet lost its popularity completely due to its convenience, versatility, and softness of baked goods made from it. For those who are after health benefits and at the same time good textures in their baking, a combination of both flours can sometimes be the solution.
Measuring Ingredients Accurately
The precise measuring of the ingredients is one of the factors in baking that remains reliable and successful over time. If the measurements do not correspond to the recipe, the difference will not only be in the flavour, but also in the texture and the appearance of the product. That is why the usage of the right tools and methods according to the type of the ingredient, whether dry or liquid, is a must for getting the highest results in baking.
Dry ingredients like flour, sugar, cocoa powder, etc., are measured by a method that involves first taking a dry measuring cup and then leveling off the excess with a flat edge like the back of a knife to get the exact amount. Unless the recipe requires it, never compress the ingredient in the cup tightly because that could lead to heavy and wrong measurements. Sifting flour before measuring it is a good practice as it helps to make the measurement more accurate as well as removing lumps. Flour is a moisture keeper, thus if one uses flour that is not sifted, the baking time may be increased.
Regarding the measuring of liquid ingredients such as oil, milk, or water, it is always better to use a liquid measuring cup and check the measurement at eye level on a flat surface. This way you will be sure that you will not pour too much or too little. Digital kitchen scales are another excellent tool for precise measurement, especially when the weight is the unit of measurement given in the recipe. Weighing ingredients is a practice that minimizes the effect of different measuring methods and therefore assures the same quality each time.
Step-by-Step Baking Instructions
1Preparing the Dough
Before progressing to the dough mixing stage, it is requisite to measure the components precisely. A clean and dry measuring cup is required for the dry components like flour and sugar; on the other hand, a liquid measuring cup is the most suitable for the wet components such as milk or water. If your measurements are right, there won’t be any discrepancies in the final product. Usually, it is recommended that the ingredients like butter and eggs should be at room temperature since they will mix better and smoother dough is obtained.
First, measure your ingredients and then mix the dry ones in a large bowl. Sifting the flour and mixing the other dry ingredients such as sugar, baking powder, or salt will be through mixing them into the flour. Now, in another bowl, beat the wet ingredients until you get a smooth mix that is well-integrated and done. That separation maximizes the benefit of evenness before mixing.
Dry your stuff with the wet mixture bit by bit. Use a gentle motion to mix and don’t overwork the dough as this will make it tough. If kneading is necessary according to the recipe, then find a clean surface, dust it with a little flour, and knead the dough until the right texture is achieved. If your recipe includes it, then strictly follow the suggested cooling or growing durations. Proper dough preparation is a decisive element in obtaining the desired texture and flavor of your baked goods.
2Shaping the Digestive Biscuits
The process of biscuit shaping is of great importance both for baking and for the appearance of the biscuits. That’s why after the dough is mixed well, dividing it into equal parts is the first step to getting the right sizes. Then the rolling pin will be used to roll the dough out on a floured surface that’s very lightly dusted with flour until a thickness of about 1/4 inch has been reached. This thickness is just ideal in the case of a properly baked biscuit with its insides soft and not too hard.
Next, cut rounds of circles from the dough using a round cutter for cookies or the sharp edge of a small drinking glass. A size of around 2 to 3 inches wide is the recommended one as the compromise between each biscuit being crisp and having a rich flavor. The newly shaped biscuits should then be gently transferred to a baking tray that has been lined with parchment paper, leaving a little space between them for the slight spreading that will occur during baking.
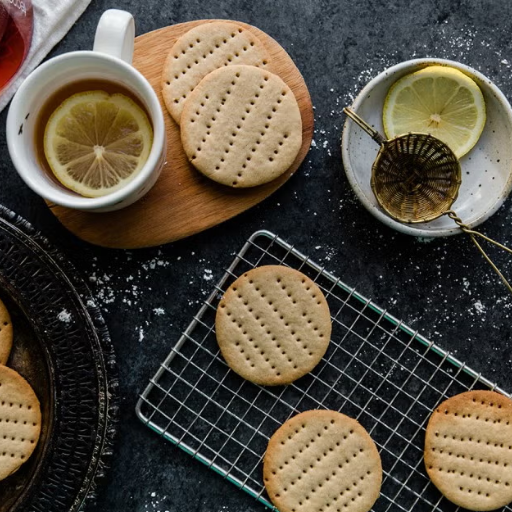
Pricking each biscuit with a fork is to be done before they go in the oven. The small holes that are formed as a result of this will allow steam to escape, thereby reducing the chances of the biscuits warping during baking, and at the same time, they will not have the unsightly bubbles. When the biscuits are finally shaped and placed for the golden-brown effect and crispness to your liking, you may proceed and will not regret it if you stick to your recipe’s baking time and temperature. Shaping is very crucial as it does not only indicate the biscuits’ appearance but also their texture and freshness at the end.
3Baking Time and Temperature Guidelines
The correct combination of baking time and temperature is the moment of truth for consistent results. It is generally accepted that the temperature range for baking biscuits is between 325°F and 375°F (163°C to 190°C). This intermediate range completely avoids the outer parts getting burnt and the inner parts being uncooked to some extent and this way the whole biscuit is done. Preheat the oven always to the right temperature before you start the actual baking hence ensuring that the temperature will be the same the whole time during the process.
The time for baking varies between 10-15 minutes maximum based on the size and thickness of the biscuit. A thinner biscuit will bake quicker while a thicker one will take longer to cook. So keep a close eye on them and also your preferred doneness level during the last few minutes of the baking. The signs of doneness are the tops and bottoms changing to a golden-brown color and a firm yet soft texture.
To ensure utmost precision, using an oven thermometer is strongly recommended as the actual temperature could be higher or lower than the one shown. Also, if you place the cookies in the center of the oven, it will be easier for the heat to circulate evenly around the cookies. By following these simple instructions, you will always be able to make biscuits with a perfect texture and a lovely even golden color.
Variations and Substitutions

Gluten-Free Options
In case you are unable to consume gluten or if you just want to avoid it at all costs, there are various gluten-free cookie recipes that not only look good but also taste good. First you need to be very attentive when replacing all-purpose flour with gluten-free flour blend of very good quality. Your flour blend should consist mainly of rice flour, tapioca flour, and potato starch because they provide biscuits with the same texture and thickness as normal ones.
gluten-free flour usage, a binding agent like xanthan gum or guar gum is very essential since they copy the elasticity that gluten provides. Most of the gluten-free blends you find in the supermarket already have these agents added, so check the package for the info. If not, then use around a quarter teaspoon of xanthan gum for each cup of flour.
Furthermore, you must change the amount of liquid used since gluten-free flour absorbs more moisture than the regular one. The wise tip is to start with the same amount of liquid as the recipe says and if the dough is too dry you can gradually add more. With these small changes, you can produce soft, flaky, and delightfully gluten-free biscuits that are just like the regular ones.
Flavor Variations: Chocolate, Oats, and More
Adding various flavors is the easiest method to change and tailor gluten-free biscuits. The first option is to add cocoa powder into the flour and at the same time melt some chocolate chips into the batter for sweet bits. Just make sure you manage the liquid well, as cocoa powder might take some, and the dough then will be soft rather than too dry at all.
The oatmeal variant is made by adding gluten-free oats to the batter. These can be spiced up with cinnamon and nutmeg or mixed with dry fruits like raisins or cranberries. It is critical to use only gluten-free oats, as this will completely eliminate the risk of contamination, which is very crucial for those who are gluten-sensitive.
In addition to that, the use of grated cheese and herbs for a savory version or the mixing of nuts and seeds for a crunchy bite and extra nutritional value can also let culinary creativity to blossom. The cooperation of various flavor qualities produces a new type of biscuit that not only attracts a large customer base but also maintains its gluten-free nature.
Adjusting for Dietary Preferences
The primary consideration in making gluten-free biscuits should be the various dietary preferences, which means that they would cater to everybody and, additionally, would be more readily accepted. For example, only individuals with nut allergies would be able to eat biscuits that do not use nut flour or any other nut-based ingredients. Rather, the safe and allergen-free alternatives—sunflower seed flour or coconut flour—would be used, which can produce the same texture and nutrition, and of course, the same great taste, too.
Vegan diets have to totally eliminate the usual ingredients butter and eggs. Plant-based substitutes like coconut oil and vegan margarine can mimic the richness and moisture of butter extremely well. Likewise, chia seeds or flaxseed meal when mixed with water can work as very good egg replacements, thus letting the mixing of the biscuits while keeping the recipe completely free of animal products.
One of the best methods to switch over to sugar-free dietary needs is by using natural sweeteners such as stevia, erythritol, or unsweetened applesauce instead of sugar. These alternatives will not only make the product sweet but also will not have a high glycemic impact thus making them suitable for those who are monitoring their sugar intake or have diabetes. By skillfully changing the recipes based on the different dietary preferences, you will be able to sell your gluten-free biscuits to a much larger market.
Serving Suggestions and Storage Tips

Best Ways to Enjoy Homemade Digestive Biscuits
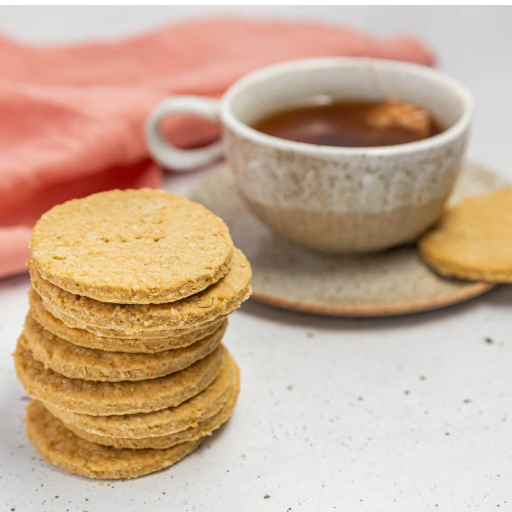
The whole process of making digestive biscuits at home is like a long road that ends in numerous ways of consuming and enjoying. The very first method is perhaps the most popular one which is to have the biscuits along with a cup of hot tea or coffee thus forming a rich, satisfying snack. The slight sweetness and mild nuttiness of the biscuits actually go hand in hand with both cooh and wi drinks and this is the very reason they are positioned in the minds of the most people to be the comfort during tea times and even casual get-togethers.
Another manner of the biscuit’s consumption is their becoming the base for desserts. It is quite common to make crust out of the ground digestive biscuits, cheesecake base, or crumble. Their flavor and texture are supportive of both creamy and fruity desserts hence offering great bases. Or, you can simply sandwich jam, nut butter, or chocolate spread between the biscuits and enjoy an instant and pleasant little treat.
If health is your worry then serve biscuits with fresh fruit, yogurt, or little honey. This combination will give you sweetness and nutrition that are balanced while at the same time enhancing the flavor of the whole dish. To keep the crispy and fresh qualities of the biscuits for a more extended period, place them in an airtight container at room temperature away from moisture and sunlight. In this way, they will remain nice and good for tasting for several days.
How to Store for Freshness
The storage method that is used will be the main determinant as to whether biscuits will stay fresh and tasty for an extended period of time or not. They must be placed in an airtight container at all times with no air permitted to contact them. The container should be positioned not to be exposed to sunlight or any hot and moist areas, as these conditions can negatively affect both the texture and flavor of the biscuits, thus, room temperature is the preferable place.
Another option for an even longer storage is freezing of the biscuits. Plastic wrap or aluminum foil should be used to wrap each biscuit individually, and then the wrapped biscuits are to be placed in a freezer-safe bag or container. The biscuits can be thawed at room temperature or their warming up gently in the oven can also be done with the objective of obtaining that freshly baked taste once they are ready to be consumed.
Refrigeration should be avoided for biscuits storage unless absolutely necessary, as the cold atmosphere could alter their texture, usually making them hard and unpalatable. By following these simple guidelines, your biscuits will be able to retain their taste and quality for the longest time!
Creative Pairing Ideas
Combining biscuits with flavors that are good to each other can enhance not just the taste but the biscuit as a treat. One of these all-time favorite combo is to have biscuits with a large amount of honey or fruit preserves. The sweetness of the honey and fruit preserves is a perfect complement to the biscuits’ buttery and savory flavors, thus creating an excellent contrast.
To make it a more indulgent experience, consider butter and cream cheese as the two secret spreads that can be teamed up with biscuits. They will not only provide the mouthfeel but also impart a soft richness to the bite. However, if you are a savory taste lover, then you may go for cheese slices or pamper your biscuit with some herb-infused butter that will burst with flavor in every bite.
If presenting biscuits with thick soups or rich stews is not enough to be different, that would be a great option. The biscuits can either be dipped in the dish or served separately to highlight the warm and robust flavors of the dish. This mix not only satisfies but also changes the perception of biscuits as a multipurpose partner to any savory dish. The innovative pairing concepts do ensure that your biscuits are going to be eaten in a fun and exciting way!
Frequently Asked Questions (FAQ)
References

Shanghai Fude Machinery
Shanghai Fude Machinery Manufacturing Co., Ltd is a leading manufacturer of top-notch gummy and cookie making machines with more than 15 years’ experience in the industry. We provide creative equipment that ensures accuracy and speed while sharing intelligence with food producers. Shanghai Fude remains to be one of the most reliable companies for food machinery because of its dedication to perfection.